
Integrating Oracle Virtual Box with Oracle Cloud Infrastructure(OCI)
Integrating Oracle Virtual Box with Oracle Cloud Infrastructure(OCI)
From Oracle VM Virtualbox 6.0 release, we have a the capability to export a virtual machine and get it running as an Oracle Cloud Infrastructure (OCI) Emulated Instance. We can import,export and provision new VM on Oracle Cloud with this.
Oracle VM VirtualBox 6 requires proper configuration to interact with a specific Oracle Cloud Infrastructure environment. All those configuration information will be used by VirtualBox to authenticate with Oracle Cloud Infrastructure
Steps:
1) Setting up Oracle Cloud Infrastructure tenant
2) Preparing on-premise Oracle VM VirtualBox to connect OCI
3) Migrating a sample VM from Oracle VM VirtualBox to OCI
In this exampe I am using virtualbox installed in my Desktop.
Pre-requisites:
a) Make sure you have a Oracle Cloud OCI account and its working.
b) Oracle VM VirtualBox 6.1
Oracle Cloud Infrastructure Setup
Create a Oracle Cloud Infrastructure Bucket
A Bucket is used by Oracle VM VirtualBox to upload and save the Virtual Machine Image on Oracle Cloud Infrastructure
a) Login to OCI
b) On the OCI Main Menu click on the "Storage" Navigation Tab and select buckets to create a bucket

c) Select Respective Compartment
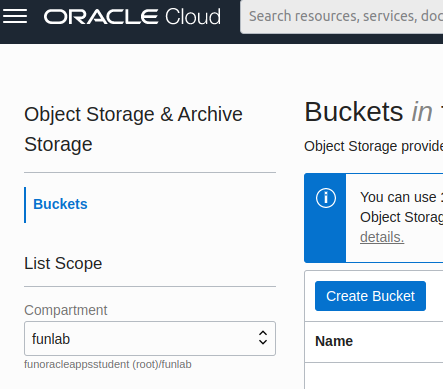
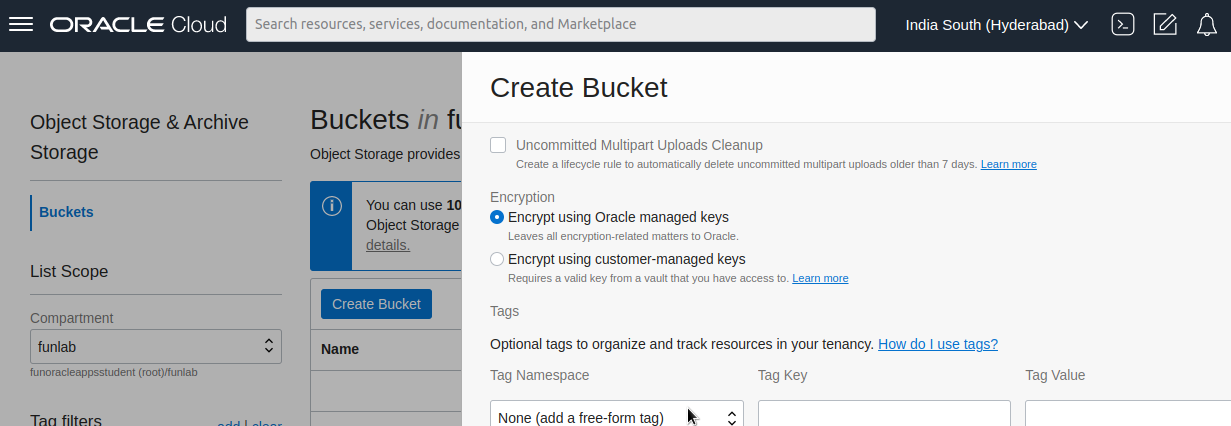
d) Create a Bucket and give name as required.
Choose standard storage type and Encrypt using Oracle managed keys.

e) Once Create it will be like below.

Create a Cloud Infrastructure Virtual Cloud Network (VCN)
a) On the OCI Main Menu click on "Networking" => "Virtual Cloud Networks"

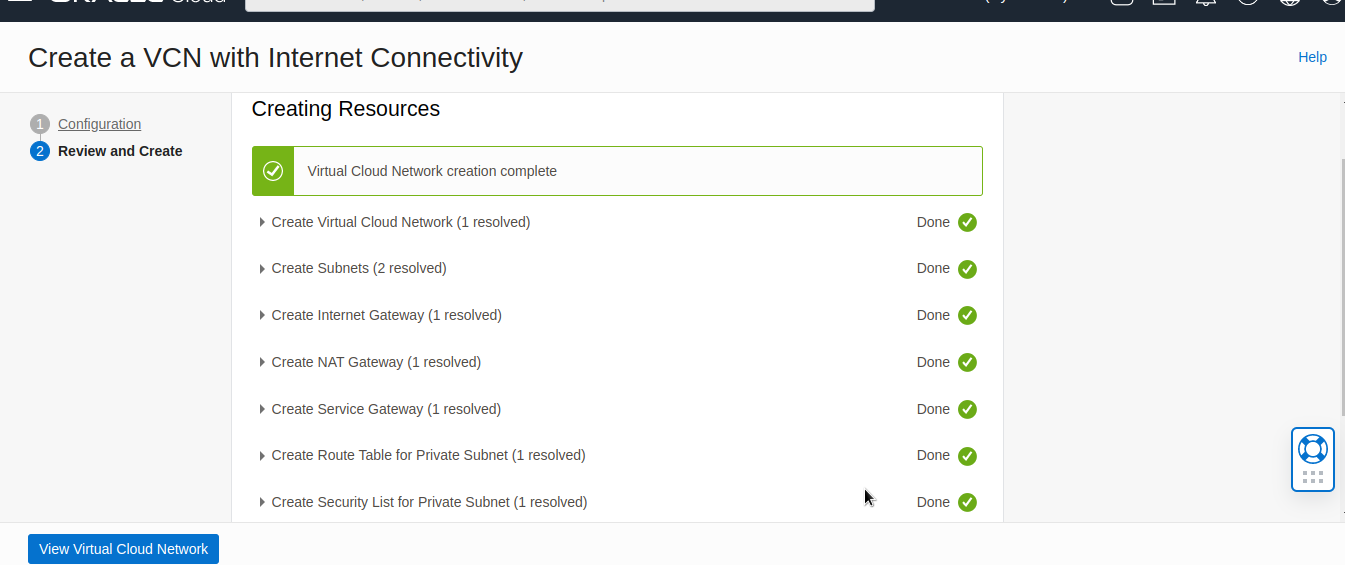
b) I will create using a VCN Wizard. Click on Start VCN Wizard

c) Create VCN with Internet Connectivity

d) Given Respective details . Refer Below ScreenShots. Make sure to Select Use DNS Hostnames with this VCN. Click next to review and create VCN.


Oracle Virtual Box Setup
Oracle VM VirtualBox 6 requires proper configuration to interact with a specific Oracle Cloud Infrastructure environment.
All those information will be used by VirtualBox to authenticate, without any user prompt, with Oracle Cloud
Infrastructure.
Requirements
The first step is to collect a list of information, possibly in a text file, from the OCI Console:
• user
• tenancy
• region
• compartment
• key_file and fingerprint
User
The account used to connect to OCI has its own OCID. To collect this information, click on the upper-right side of the OCI and open profile console on the icon and select your email address.
In your account window, click on “Copy” to copy your User OCID to the clipboard

Tenancy
A tenancy is a secure and isolated partition within Oracle Cloud Infrastructure used to create, organize, and administer cloud resources. Each tenancy has its own OCID. To collect this information, click on the “OCI Main Menu” => “Governance & Administration” => “Tenancy Details”.
In the “Tenancy Information” window, click on “Copy” to copy your Tenancy OCID to the clipboard:


Region
A region is a specific geographic area. It is composed of one or more availability domains. An availability domain is one or more data centres located within a region. Each region can be identified by an easily recognised name, found in the upper-right corner of the OCI console:
Region Identifier: ap-hyderabad-1

Compartment
A compartment is a collection of related resources (such as cloud networks, compute instances, or block volumes) that can be accessed only by those groups that have been given permission by an administrator in your organization. Each compartment has its own OCID.
To collect this information click on the “OCI Main Menu” => “Identity & Security” => “Compartments”.In the “Compartments” window, click on the Compartment OCID and then on the “Copy” button to copy your Compartment OCID to the clipboard:


Key File and Fingerprint
The “Key File” and “Fingerprint” have to be generated on the system where virtual box is installed.
As I have a Linux and Mac OS based Desktop I will create based on that
Refer: https://docs.oracle.com/en-us/iaas/Content/API/Concepts/apisigningkey.htm
Generating an API Signing Key (Linux and Mac OS X)
himanshu@himanshu-server:~$ mkdir ~/.oci
himanshu@himanshu-server:~$ openssl genrsa -out ~/.oci/oci_api_key.pem 2048
Generating RSA private key, 2048 bit long modulus (2 primes)
.......................................................+++++
.......+++++
e is 65537 (0x010001)
himanshu@himanshu-server:~$ chmod go-rwx ~/.oci/oci_api_key.pem
himanshu@himanshu-server:~$ openssl rsa -pubout -in ~/.oci/oci_api_key.pem -out ~/.oci/oci_api_key_public.pem
writing RSA key
himanshu@himanshu-server:~$ cd .oci/
himanshu@himanshu-server:~/.oci$ ls -ltr
total 8
-rw------- 1 himanshu himanshu 1679 Aug 25 22:03 oci_api_key.pem
-rw-rw-r-- 1 himanshu himanshu 451 Aug 25 22:04 oci_api_key_public.pem
Add the key to OCI console

Browse the key file (oci_api_key_public.pem) and attach


In the above screenshot you can see the fingerprint, we have to take a note of it as well.
a) Update Virtual Box and Download/Install Virtual Box Extension

b) Now Open Virtual Box and Open Cloud Profile Manager
Go to File> New Cloud VM

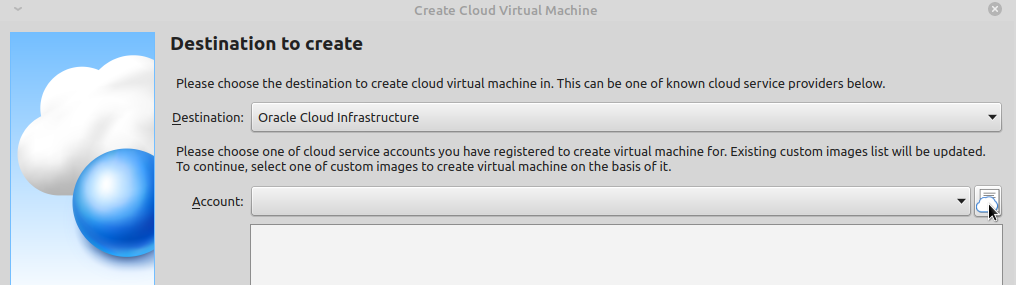

Click Add
Give a Name to Connection and Provide all details capture earlier.


Update the properties


This completes our Integration of Virtual Box with OCI.
Post a Comment
Post a Comment